Send payment
You can send a ruble payment from your account if you have enough funds on it.
Important. Payments are only made on business days, from 9 AM to 6 PM Moscow time. If you create a payment at another time, it will be sent on the next business day.
1. Create a payment
There are several ways to do that. In the left-hand menu, click Create, then New payment. Or, on the home page, select an account you want to use for the payment, then click New payment. (If you don't see this button next to the account, it means you can't use it for the payment).

You will see the payment creation form.
2. Fill out the form
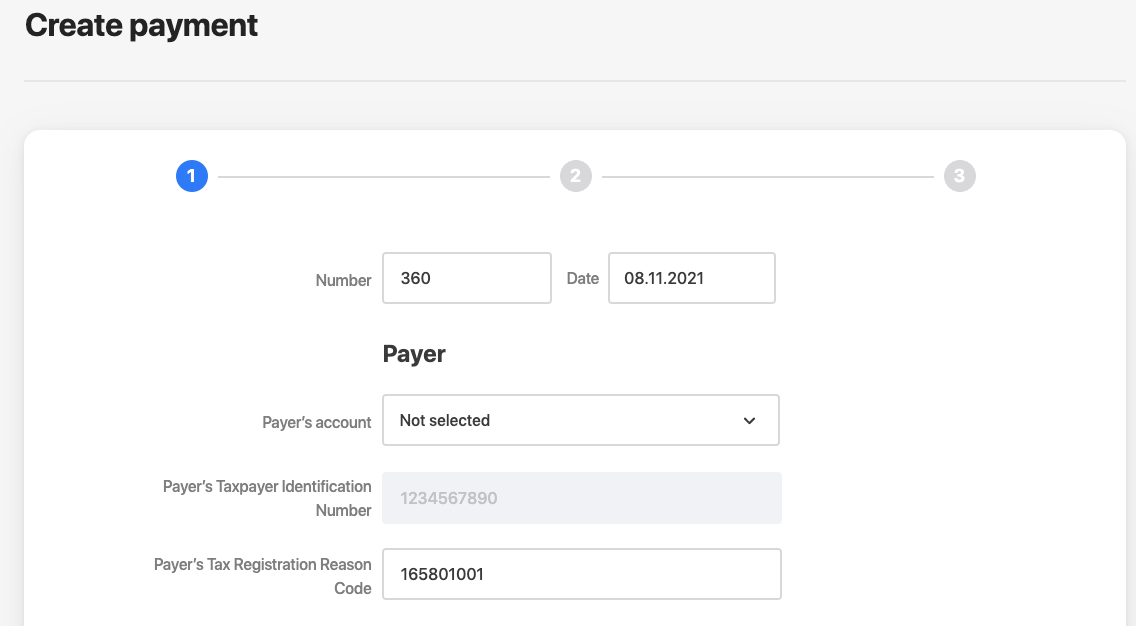
Number. You are free to give your payment any number. By default, every payment is given the number in order. Date. By default, the current date is specified here, but you can set any of the 10 last days. Select the Payer's account from which you want to transfer money, and other details will be specified automatically.
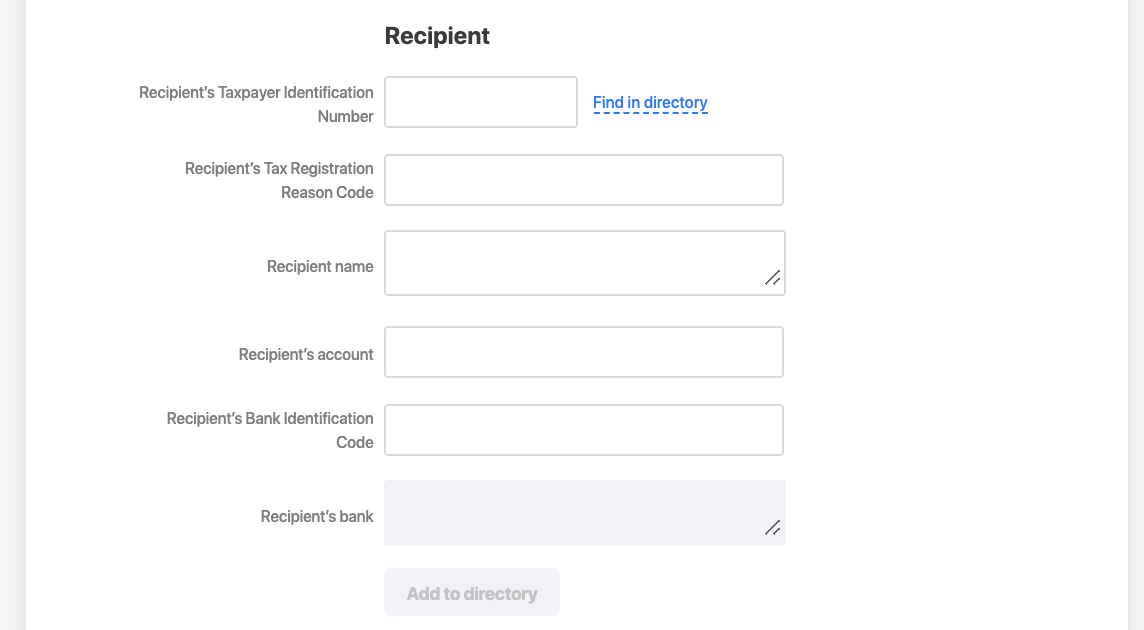
Fill out the recipient details:
- Recipient's Taxpayer Identification Number (you can use the Find in directory option if you added it there),
- recipient name or company name,
- account,
- Bank Identification Code. Once you specify it, you can select the bank from the list, and other details will be specified automatically. Once you fill out the fields, add the recipient to the directory so you don't have to fill out the details again next time.
Specify how to send the payment.
- How to send:
- Automatic. The payment will be sent as usual.
- Urgent. The payment will be send via the Fast Payment System. Such payments are made within an hour or even faster, but they can only be made if the recipient's bank enabled the Fast Payment System. If they didn't, the payment will be sent as usual.
Note. Automatic (standard) and urgent payments are subject to different fees. You can find them in your agreement with the bank.
All payments are processed during business hours. If you send an urgent payment at night, it will be processed on the next business day.
- Payout code is only required if you pay to an individual at the expense of the Treasury of the Russian Federation (per Federal Law of Russia No. 161-FZ, Article 30.5, Chapters 5.5 and 5.6).
- Priority. If you don't know what to specify here, enter "5."
- Income Type Code. Optional.

Fill out the payment information.
- Amount in rubles.
- Purpose.
- VAT. Select an option from the list, and the VAT info will be specified in the payment purpose.
- Code. This field is required for payments to budgetary organizations. If the slip doesn't contain the code, specify "0." If you pay to the Ministry of Internal Affairs or State Traffic Safety Inspectorate, the document number or Unique Identifier of Charge is required.
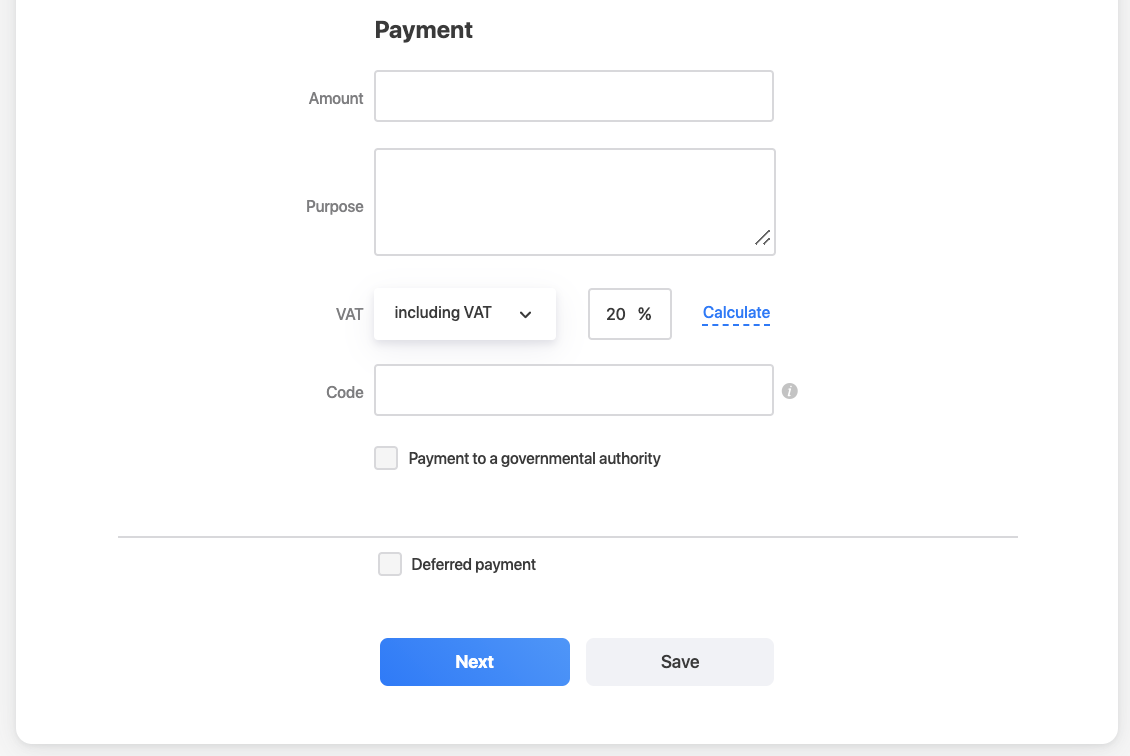
If you pay to a governmental authority, flag the box Payment to a governmental authority. You will see additional fields that should be filled out as in the slip.
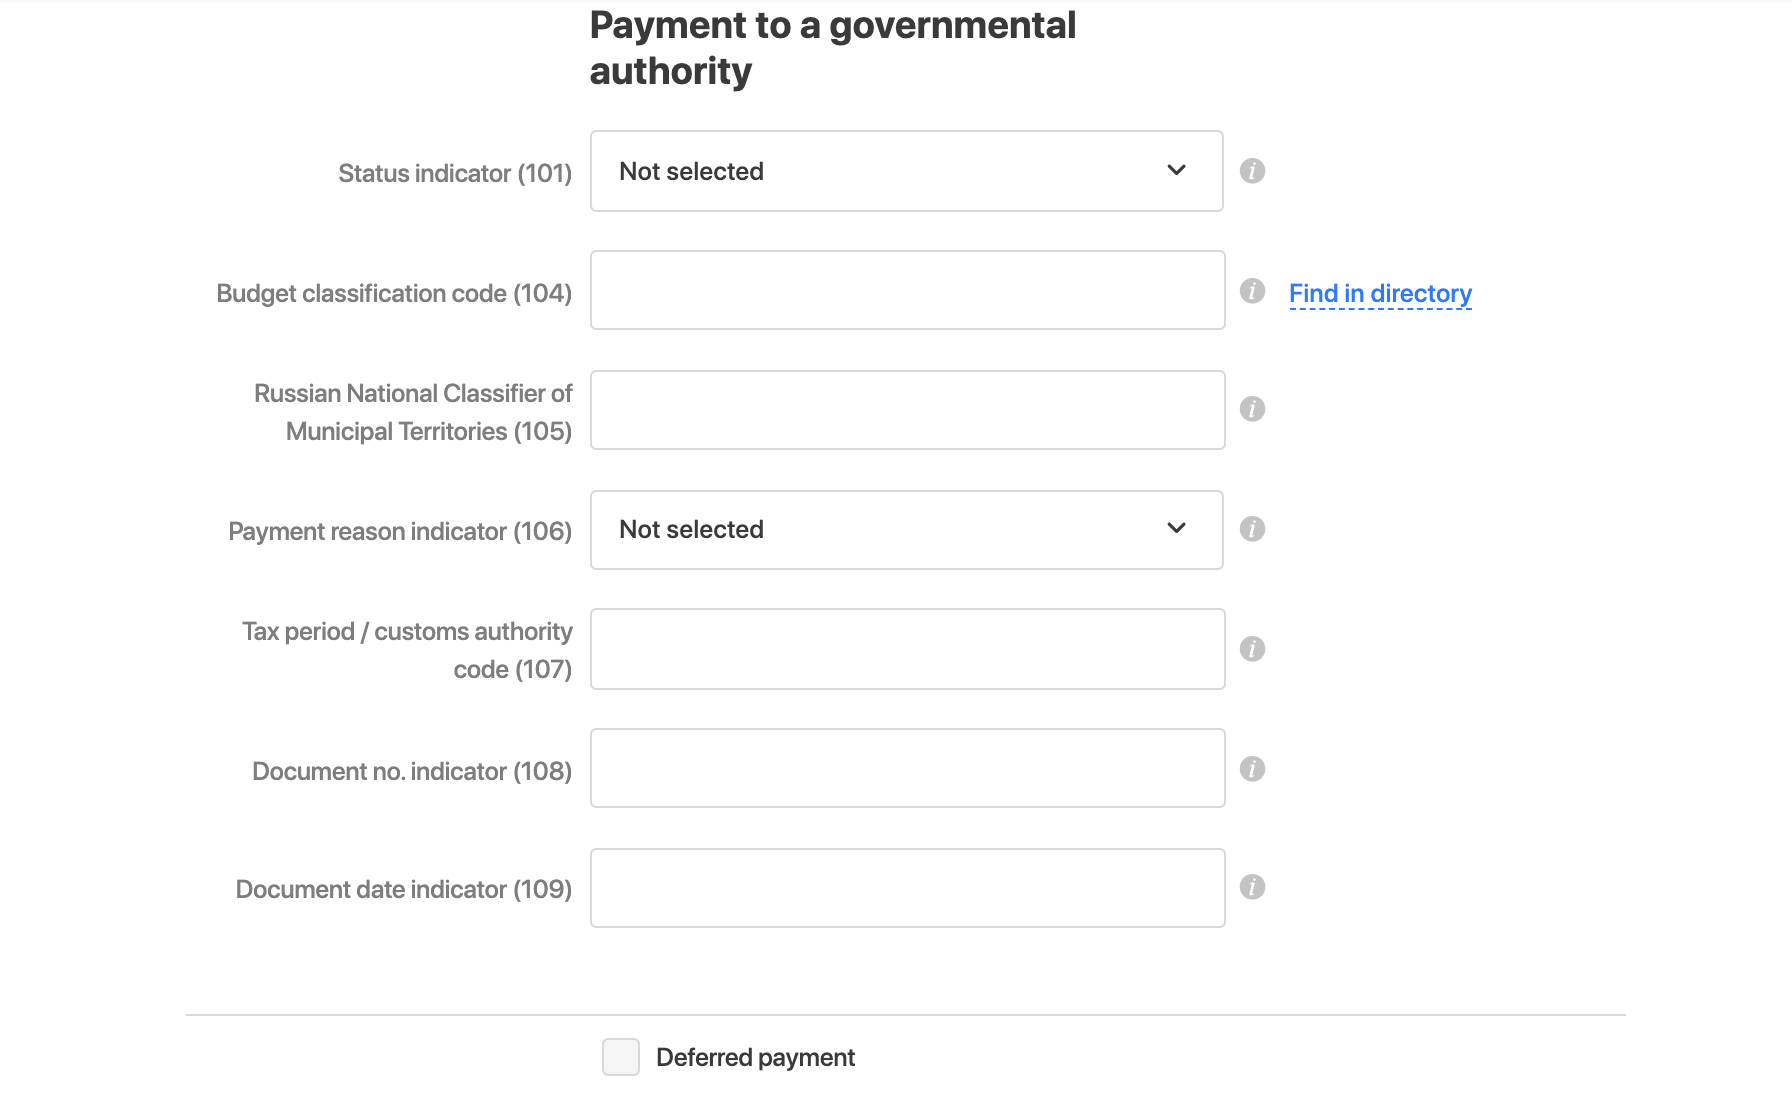
If you don't want to send the payment right away, flag the box Deferred payment.
You will see an extra field where you can specify the date on which you want the payment to be sent. If the funds on your account happen to be insufficient on the payment date, the payment will be rescheduled for the next business day. It will be rescheduled unless your account balance becomes sufficient or you cancel the payment.

Once you finish filling out all the fields, click Next to get to the payment confirmation page.
3. Confirm the payment
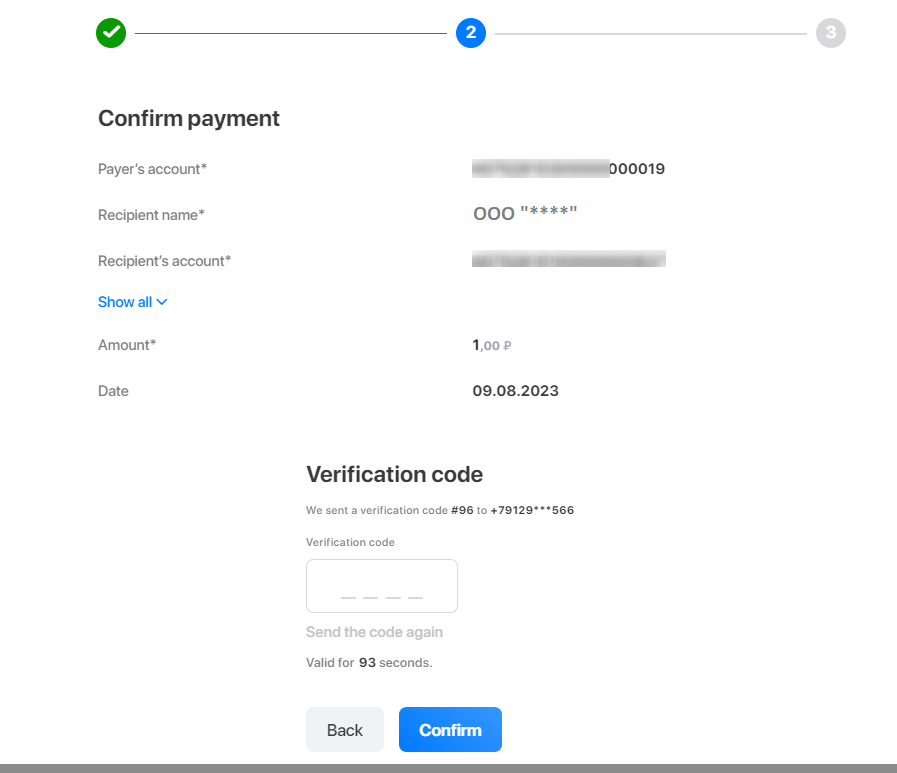
With a text message
Check the details and the amount. If everything is correct, enter the code that will be sent to the phone number specified in your contact info.
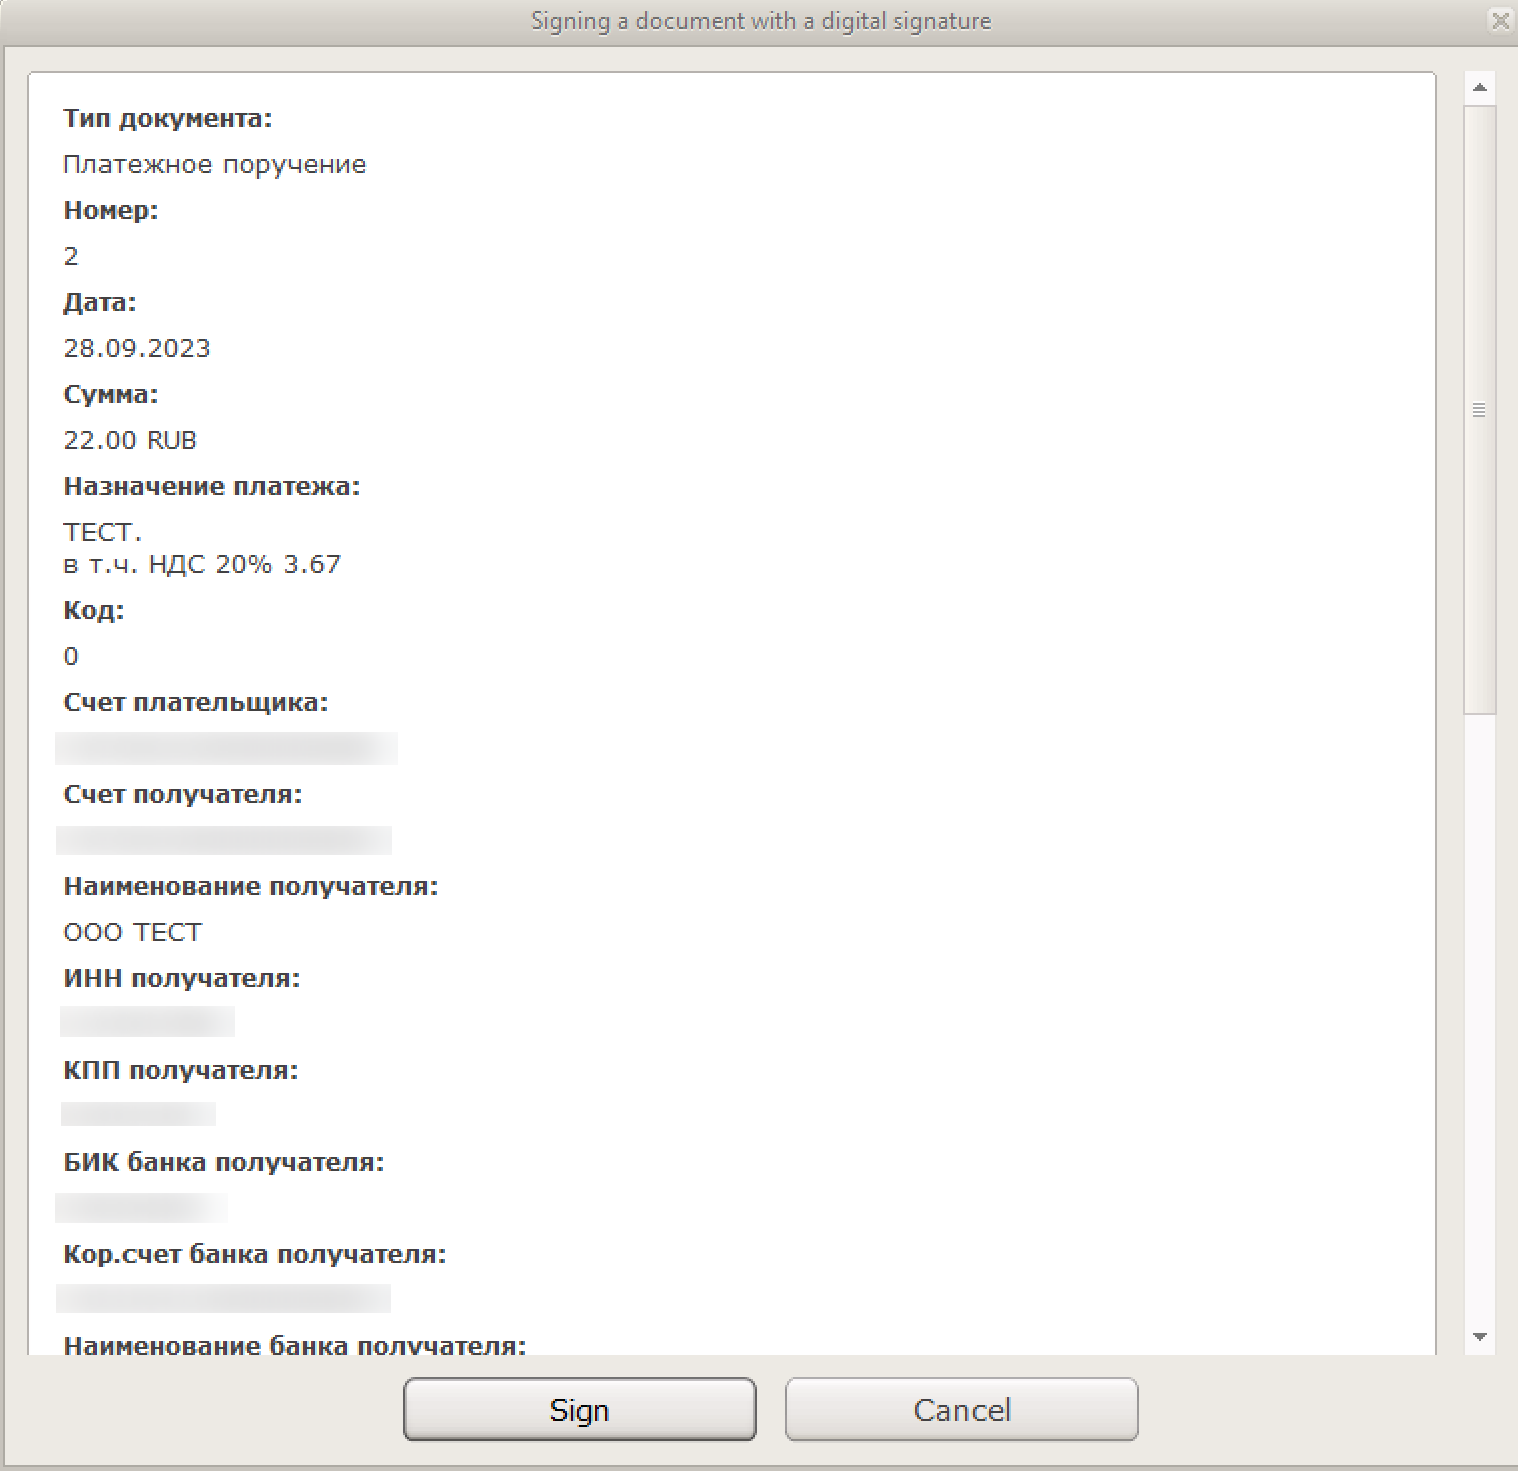
With token
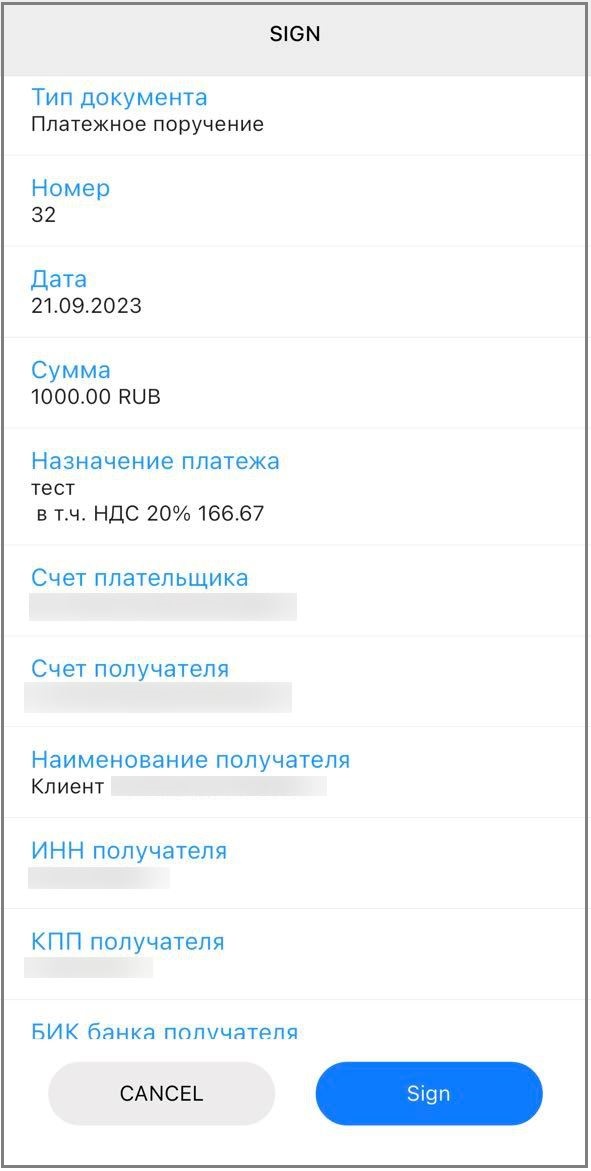
A pop-up window with the transaction details will open. Check the details and click Sign.
Done! The payment was sent. You can save it as a template or make it a recurring payment.
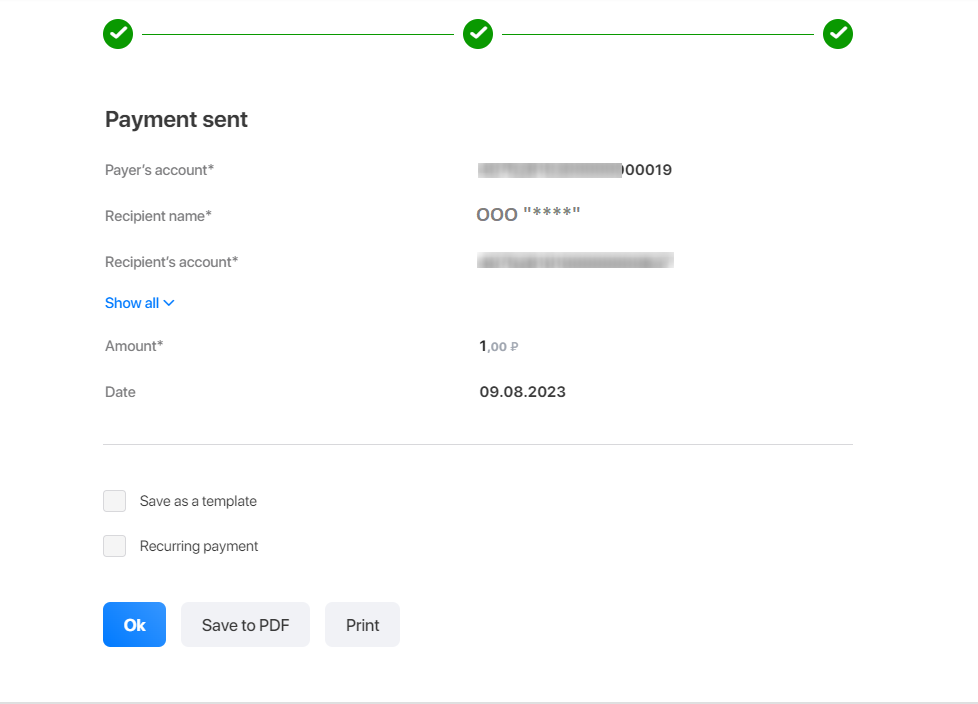
You can monitor the payment progress in Transaction history. Some time later, it will appear in the statement.
Via mobile signature
You will receive a push notification on your mobile device. Check the details and click Sign.
